Just found new Etsy useful tools. Well, they might be not new as I'm not really the first one to get new widgets person. I think they are quite cute. I'll try one of them on my blog. It allows you to see 10 treasuries you've created or you are featured as a slide show, all treasuries are clickable so you can view them in details.
Widget was created by EtsyTreasuries.com Treasury Shop which let you browse hundreds of curated Treasuries at a glance through a 3D wall gallery. You can view it in 3 different ways - Top 300 Most Popular, Top 300 With Most Comments, Top 300 Newly Listed. You can quickly view treasuries with color scheme and find your style from hundreds being curated everyday.This will help buyers who especially looking for wedding items (Wedding category) where everything should match and fall under a specific color scheme and find everything they need in the treasury.
Treasury Shop also enables Search Tool where you can search by tags, title or curator and get relevant results.
Try your widget!
March 15, 2011
March 12, 2011
How to make a necklace cord
Recently I was asked to show how I make a cord for my crochet necklaces/chokers. Sorry for delay, my computer has been down for a while but now I'm ready to share with you some of my secrets :-)
I’m more used to American crochet terms, so the pattern is given in American terms.
Here is a crochet terms conversion chart to UK crochetters.
US UK
chain(ch) chain(ch)
single crochet (sc) double crochet (dc)
double crochet (dc) treble (tr)
half double crochet (hdc) half treble (htr)
triple crochet (trc) double treble (dtr)
slip stitch (sl st) slip stitch (sl st)
First of all you need to make a slip ring or a magic ring or magic circle, the same thing just having different names. I found this picture which was very helpful for myself.

But if you need more help here is a video from youtube uploaded by tjw1963
Round 1. For slip ring leaving 4” end of thread, make a loop, insert hook through loop from front to back, yarn over (see picture 1) pull through loop to form ring, yarn over, pull through loop on hook (picture 2), make chain 3 and 7 dc in a ring, pull end of the thread tightly to close ring having 8 dc including chain of 3 stitches at the beginning. Do not join rounds, continue in spiral.
Round 2. Working this round in back loops, sc in top of chain 3, sc in each dc around (8 sc). Turn stitches of rounds 1 and 2 wrong side out, bring 4” end through center of ring, Backside of stitches will be on outside of work. Stuff 4” end inside the cord.
Continue working round 2 in back loops, making sc in each stitch around, do not join rounds! Finish when you get desired length. I normally make a 20 - 21" long cord.
Last round. (Sc in next stitch and skip the next one) repeat 4 times (4 stitches left).
For the clasp make a chain of 13 stitches and slip stitch to the 3-rd stitch in previous round. For clasp bead cut 4" long tread and wrap it tightly around the beginning of the cord (1/2" from the end). Secure all ends (I use some fabric glue to keep ends safe).
For my necklaces I use 100% mercerized crochet cotton size 20 and a hook size 1 - 1.25 mm. I do my stitches quite tight, if you are used to make it a bit loose, use size 1.25 mm. I would say try and make a test piece to check you tension, if the tension is too tight use larger hook, if the tension is too loose, get a smaller hook. Do experiment! Some charts that I’ve found in the internet refer metric size 1.25 mm to size 4 (UK) and 10 (US).
Any maker of thread will do – DMC Chebelia, Aunt Lydia, Whoosh, Lesur Empress, Crochetta, Twilleys Southern Comfort, Coats. If cotton is slightly thicker (size 10) it is still fine for a necklace. I prefer mercerized cotton as the cord comes stiff enough to keep its shape.
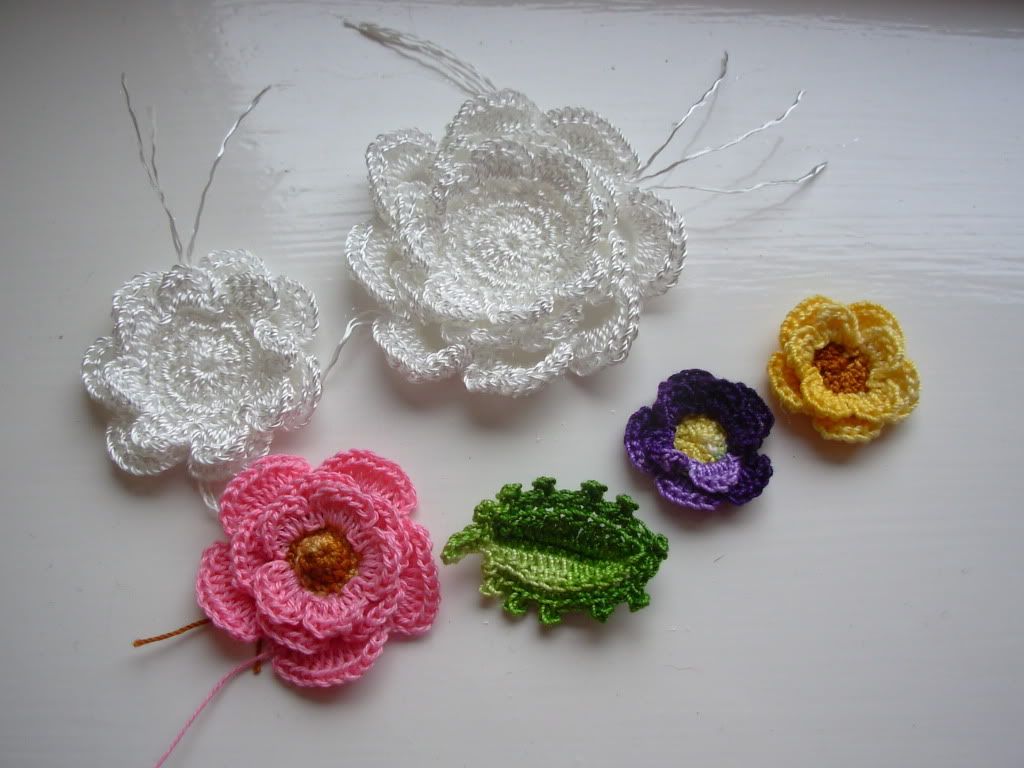
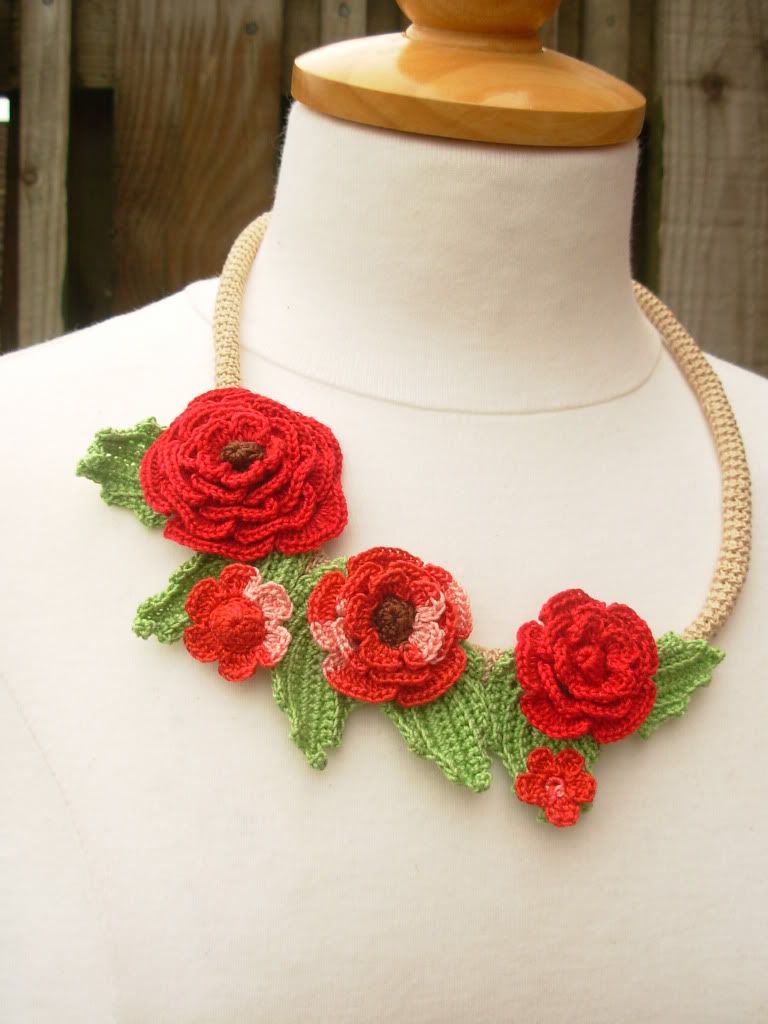
Then just add some motiffs - flowers and leaves, make them in solid colours or variegated ones,

and your necklace is done! You’ve made one of a kind piece of handmade jewellery! It’s a perfect gift for a girlfriend, a friend or maybe a treat for yourself.


You'll find more ideas for necklace designs here or watch my video on youtube
The same cord can be used as a bag handle, depending on the size of a bag, you can make a thicker cord. I suggest using thicker thread (DK cotton) for handles, it’ll make them stiffer. If you want really thick handles, follow the above instructions but make more dc in a slip ring in round 1 and use larger hook. And then just stuff handles with toy stuffing.
I’m more used to American crochet terms, so the pattern is given in American terms.
Here is a crochet terms conversion chart to UK crochetters.
US UK
chain(ch) chain(ch)
single crochet (sc) double crochet (dc)
double crochet (dc) treble (tr)
half double crochet (hdc) half treble (htr)
triple crochet (trc) double treble (dtr)
slip stitch (sl st) slip stitch (sl st)
First of all you need to make a slip ring or a magic ring or magic circle, the same thing just having different names. I found this picture which was very helpful for myself.

But if you need more help here is a video from youtube uploaded by tjw1963
Round 1. For slip ring leaving 4” end of thread, make a loop, insert hook through loop from front to back, yarn over (see picture 1) pull through loop to form ring, yarn over, pull through loop on hook (picture 2), make chain 3 and 7 dc in a ring, pull end of the thread tightly to close ring having 8 dc including chain of 3 stitches at the beginning. Do not join rounds, continue in spiral.
Round 2. Working this round in back loops, sc in top of chain 3, sc in each dc around (8 sc). Turn stitches of rounds 1 and 2 wrong side out, bring 4” end through center of ring, Backside of stitches will be on outside of work. Stuff 4” end inside the cord.
Continue working round 2 in back loops, making sc in each stitch around, do not join rounds! Finish when you get desired length. I normally make a 20 - 21" long cord.
Last round. (Sc in next stitch and skip the next one) repeat 4 times (4 stitches left).
For the clasp make a chain of 13 stitches and slip stitch to the 3-rd stitch in previous round. For clasp bead cut 4" long tread and wrap it tightly around the beginning of the cord (1/2" from the end). Secure all ends (I use some fabric glue to keep ends safe).
For my necklaces I use 100% mercerized crochet cotton size 20 and a hook size 1 - 1.25 mm. I do my stitches quite tight, if you are used to make it a bit loose, use size 1.25 mm. I would say try and make a test piece to check you tension, if the tension is too tight use larger hook, if the tension is too loose, get a smaller hook. Do experiment! Some charts that I’ve found in the internet refer metric size 1.25 mm to size 4 (UK) and 10 (US).
Any maker of thread will do – DMC Chebelia, Aunt Lydia, Whoosh, Lesur Empress, Crochetta, Twilleys Southern Comfort, Coats. If cotton is slightly thicker (size 10) it is still fine for a necklace. I prefer mercerized cotton as the cord comes stiff enough to keep its shape.
Then just add some motiffs - flowers and leaves, make them in solid colours or variegated ones,

and your necklace is done! You’ve made one of a kind piece of handmade jewellery! It’s a perfect gift for a girlfriend, a friend or maybe a treat for yourself.


You'll find more ideas for necklace designs here or watch my video on youtube
The same cord can be used as a bag handle, depending on the size of a bag, you can make a thicker cord. I suggest using thicker thread (DK cotton) for handles, it’ll make them stiffer. If you want really thick handles, follow the above instructions but make more dc in a slip ring in round 1 and use larger hook. And then just stuff handles with toy stuffing.
Labels:
3D crochet flower,
choker,
crochet jewelry,
etsy,
jewellery,
necklace,
tutorial,
UK


